


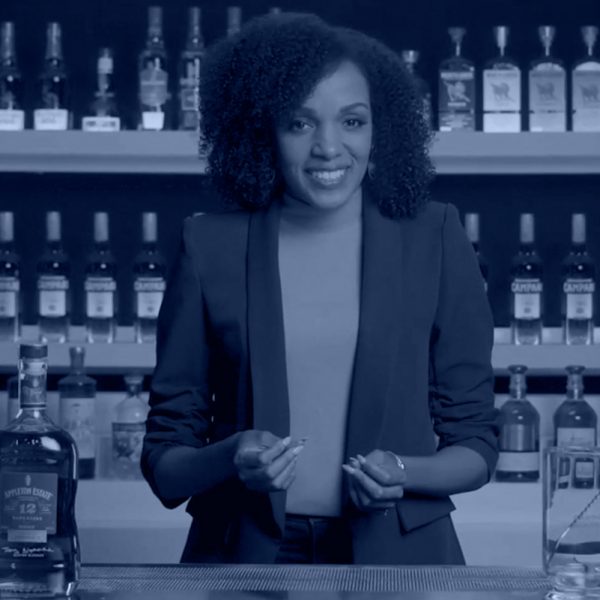


5 techniques modern bartenders must master according to Jeffrey Morgenthaler

With 28 years in the bartending industry, Jeffrey Morgenthaler knows his tekkers. From peeling citrus with cheese slicers to the physics of shaking, he unpacks five techniques he swears by
Last week, as I worked behind the bar as usual – mixing drinks, engaging with guests, and tackling a mountain of dishes – I found myself reflecting on the journey that led me here. Next month marks 28 years of full-time bartending for me, during which I’ve witnessed decades of trends, innovations, and significant industry-wide shifts.
Throughout my tenure, I’ve encountered nearly every imaginable approach to bartending, many of which I’ve gratefully discarded. I’ll never forget my early days when, at my first job, the manager tasked with training me insisted that limes were simply unripe lemons. It took me some time to recognise the fallacy in that assertion, but I’m glad I eventually did.

My foray into bartending began modestly, as it did for many during that era, driven not by a passion for knowledge or hospitality, but by a pressing need to cover my rent while attending university.
Initially, I approached my work at the bar with minimal effort, simply aiming to enjoy myself and make a little money. However, that initial experience sparked something in me, and within a few short years, I found myself immersed in studying every available resource on bartending and cocktails. Soon, I developed a genuine passion for hospitality, cocktails, and bartending techniques.
Over the past three decades, I’ve had the privilege of working in some of the most renowned bars in the industry, ranging from bustling nightclubs to cosy speakeasies. At each juncture, I’ve endeavoured to share my knowledge, initially through my website and eventually through my book, The Bar Book: Elements of Cocktail Technique, which has been embraced by bartenders worldwide since its release a decade ago.
One of the most significant lessons I’ve learned is the importance of mastering the basics. Whether it’s precisely measuring ingredients or skillfully shaking and stirring, every aspect of cocktail technique contributes to crafting the perfect drink. Despite their fundamental significance, these basics are often overlooked by aspiring bartenders eager to showcase their creativity.
I remain steadfast in my belief that excellence lies in the meticulous pursuit of perfection. As hosts, I believe it’s our duty to stay informed, challenge assumptions, and continually refine our craft. Thus, whether you’re a novice or a seasoned veteran like myself, I hope you’ll find value in the following sections.
We’ll delve into several key techniques which I believe every bartender should master, from assembling a cocktail to preparing and serving it to guests. It’s important to note that this is merely a foundational overview, and for those eager to delve deeper, I recommend exploring the wealth of reliable resources available on the subject.
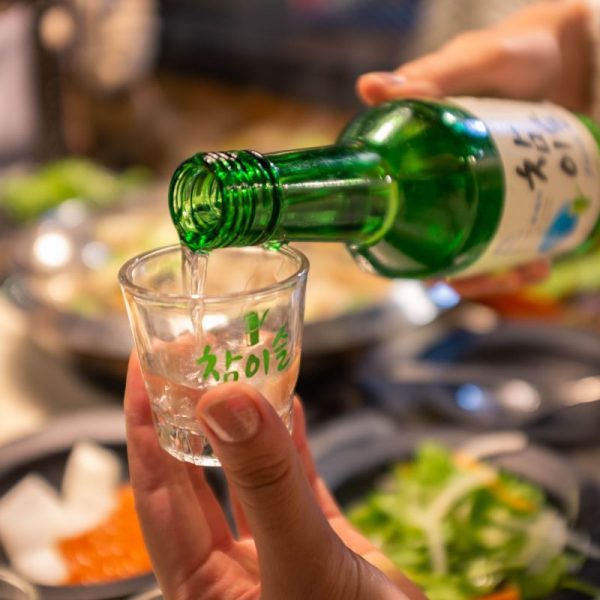
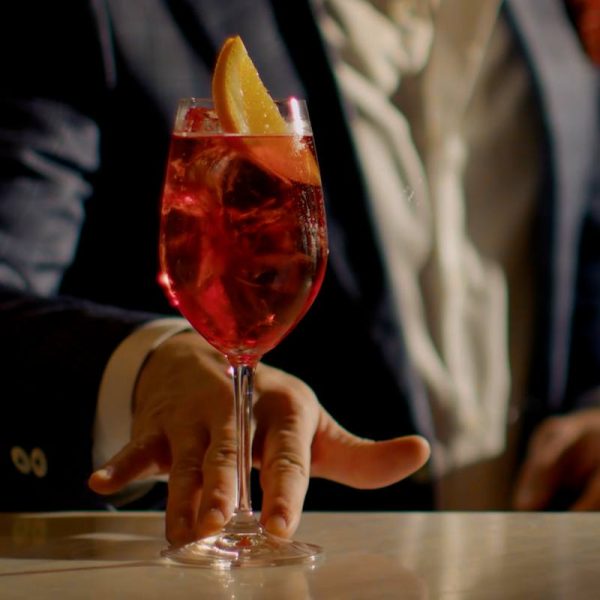
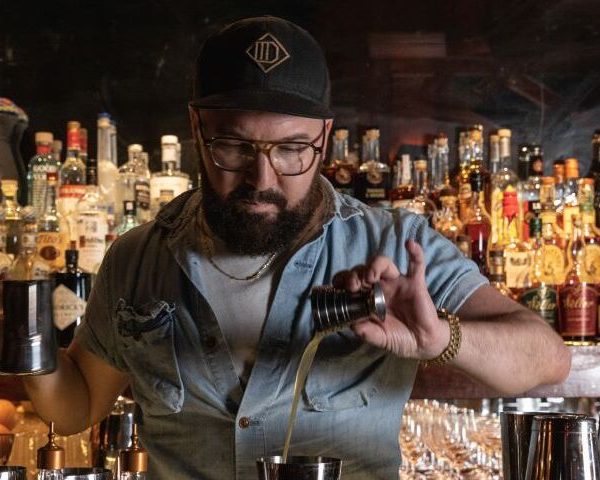
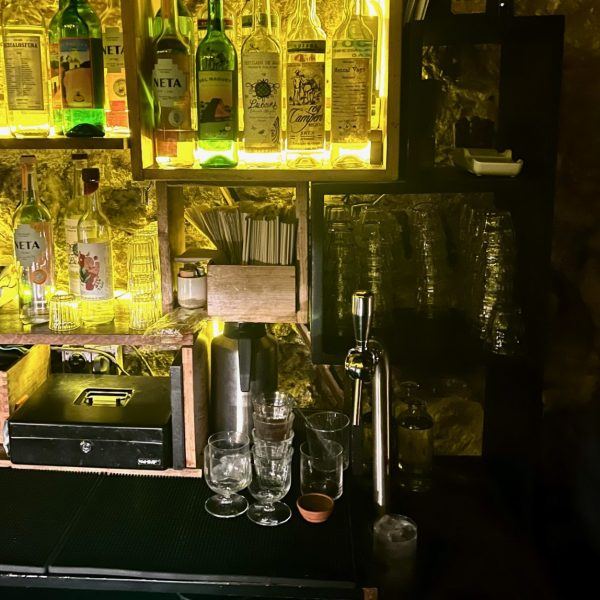
1. Measuring and building
The first step to making a cocktail seems like little more than getting ingredients into a mixing vessel, but I implore you to take measuring seriously. With a shaker or mixing glass in front of me, I take the utmost care in precisely jiggering every ingredient – denying the urge to rush the process.
At some point in your educational travels, you’re going to hear that you should always build a cocktail starting with the smallest volumes, in case you make an error and need to start over you won’t be throwing expensive ingredients down the drain. I appreciate the sentiment, but I disagree.
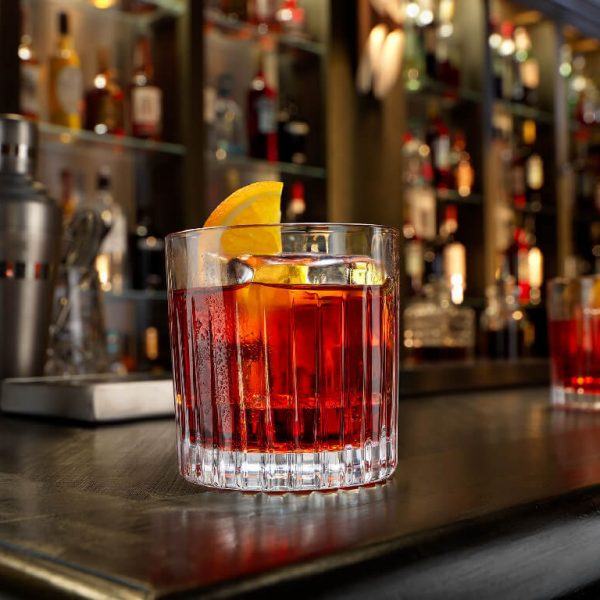
I don’t think of an Old Fashioned as a drink made from syrup and bitters, bolstered with whiskey. I think of an Old Fashioned as a whiskey cocktail that I’m subtly modifying into something sublime with the addition of sugar and aromatics. Therefore, the idea of starting the drink with a couple of dashes of bitters is confusing to me and would likely lead to more errors on my part. If you find this odd, backwards method of building drinks as confusing as I do, then I suggest finding the system that works for you.
Not wasting the bar’s valuable product is indeed important, but a well-constructed and delicious cocktail will encourage your guests to come back time and time again.
2. Working with egg whites
Egg whites, an ingredient steeped in tradition yet revitalised by the cocktail renaissance, are sure to feature in your bartending repertoire. At my bar, it’s not uncommon for guests to favour egg white cocktails over other options, underscoring the enduring appeal of this classic ingredient.
Egg whites are most commonly incorporated into Sours, cocktails featuring lemon or lime juice. Bartenders of the mid-19th century recognised that egg whites imparted a rich, creamy mouthfeel and softened the bite of high-proof spirits and citrus. Early recipes called for a mere ‘dollop’ of egg whites; contemporary recipes typically specify ½oz/15ml.
The resurgence of egg white cocktails has spurred bartenders to employ various techniques to achieve a thick, white ‘head’ atop the drink; from special tools that are placed inside the shaker, to help aerate the whites, to battery-operated milk frothers, and even complicated systems of shaking the drink without ice, either before or after chilling and diluting the drink. All of these methods require extra steps and/or equipment to achieve the desired effect.
I have found that these affectations can mostly be dismissed by following three simple steps. First, make sure your eggs are the freshest possible. Second, lightly beat your egg whites after separating to make them easy to measure and quick to froth. And finally, using a proper shaking technique will ensure that your egg white cocktails are consistently frothy. The most important of these steps, I feel, is a proper shake.
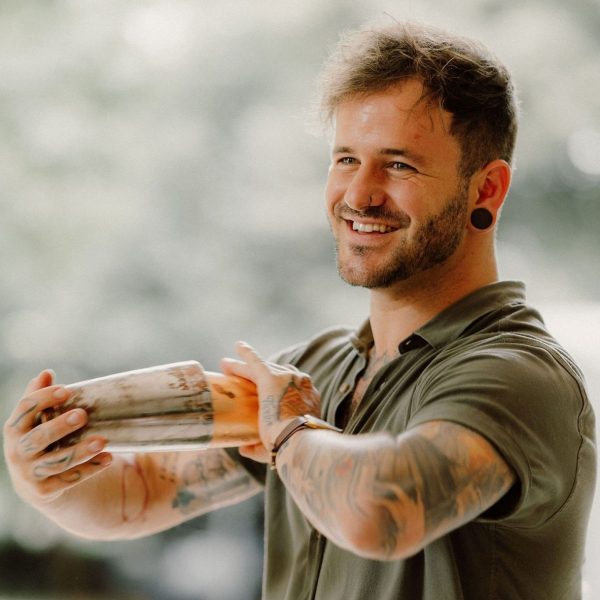
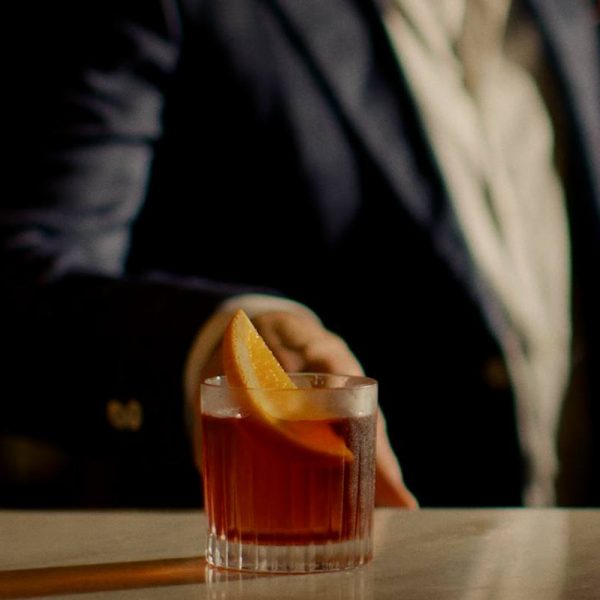
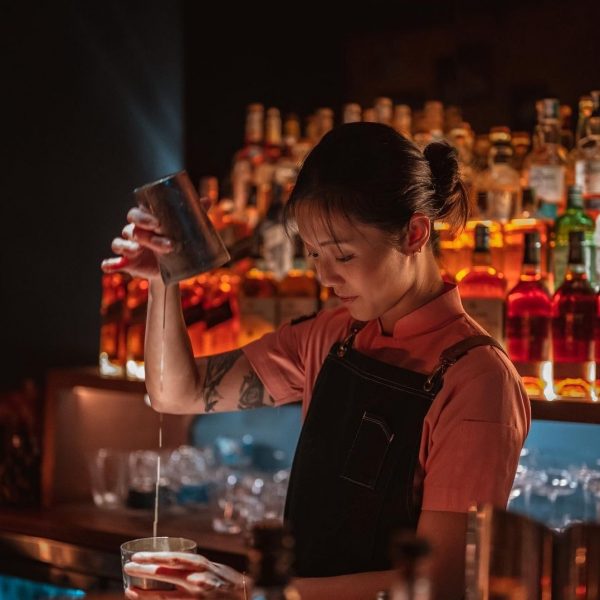
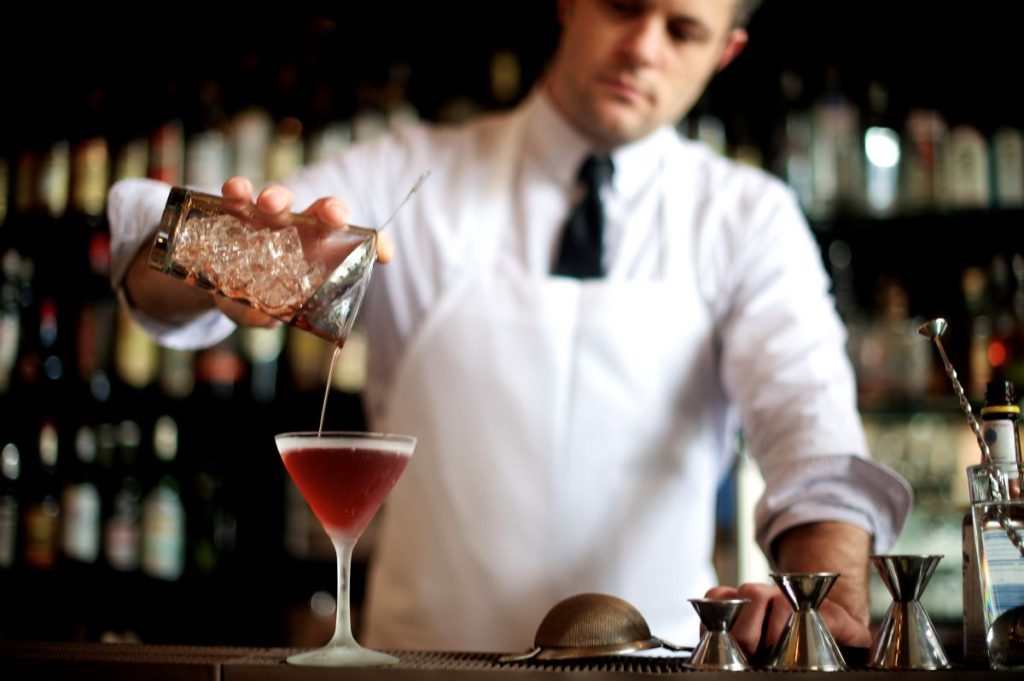
3. Shaking
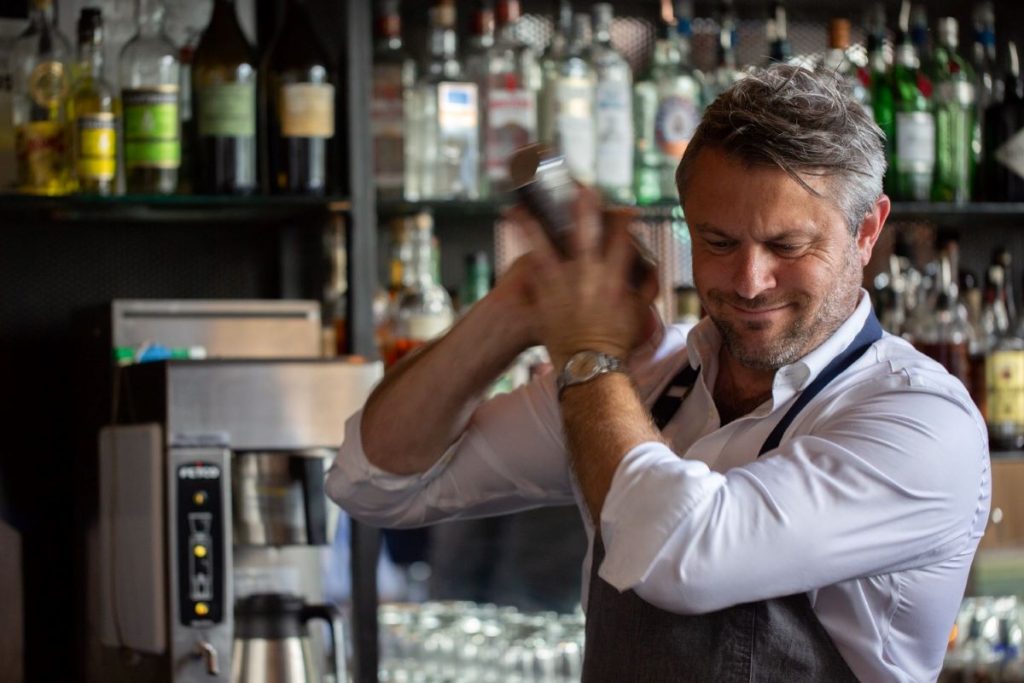
Shaking a cocktail is perhaps the most iconic technique in bartending, often associated with the profession and garnering significant attention. If you don’t believe me, just treat yourself to a quick image search for the word ‘bartender’ sometime, and tell me how many of those pictures feature someone standing behind a bar, wielding a cocktail shaker, and grinning like an idiot. However, given how iconic and important this technique is, it’s surprising how frequently I encounter bartenders who lack proper training in this fundamental skill.
On its face, shaking seems pretty basic: get the drink cold, and get those ingredients combined. Simple, right? But when we sit down to blind taste an array of cocktails that have been shaken using different methods, it becomes clear to us that some just look, feel, and taste better than others.
One can quickly disappear down a rabbit hole of videos on the internet, learning all sorts of mystical techniques from experts who will tell you that you need a certain shape of ice, or perhaps an elusive wrist motion that will result in a ‘smoother’ cocktail with less ‘sharp edges’, whatever that means. But I’m here to tell you, from someone with a degree in physics, that all it takes is a lot of very cold ice and some very vigorous wrist snaps to get that shaken cocktail where you want it: ice cold and very aerated.
Nine times out of 10, the simplest and most effective solution is the one that’s overlooked: the shaker doesn’t contain enough ice. So if you feel like your shaken drinks are missing something but you can’t quite put your finger on it, try filling your cocktail shaker to the top with ice – it might just be the fix you’re looking for.
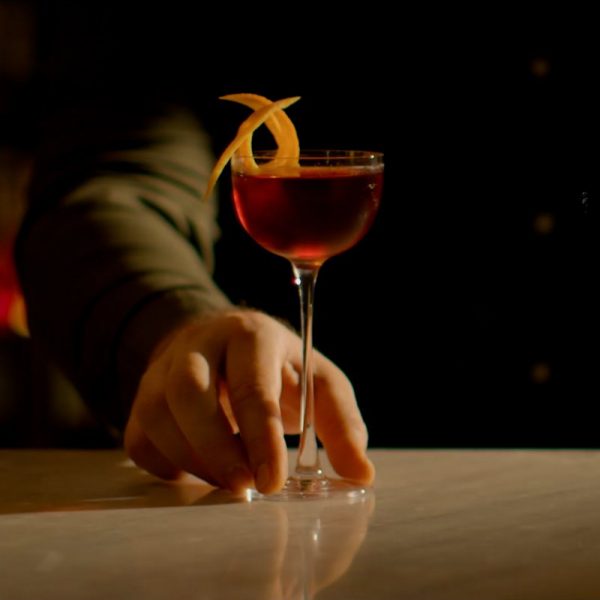
4. Stirring
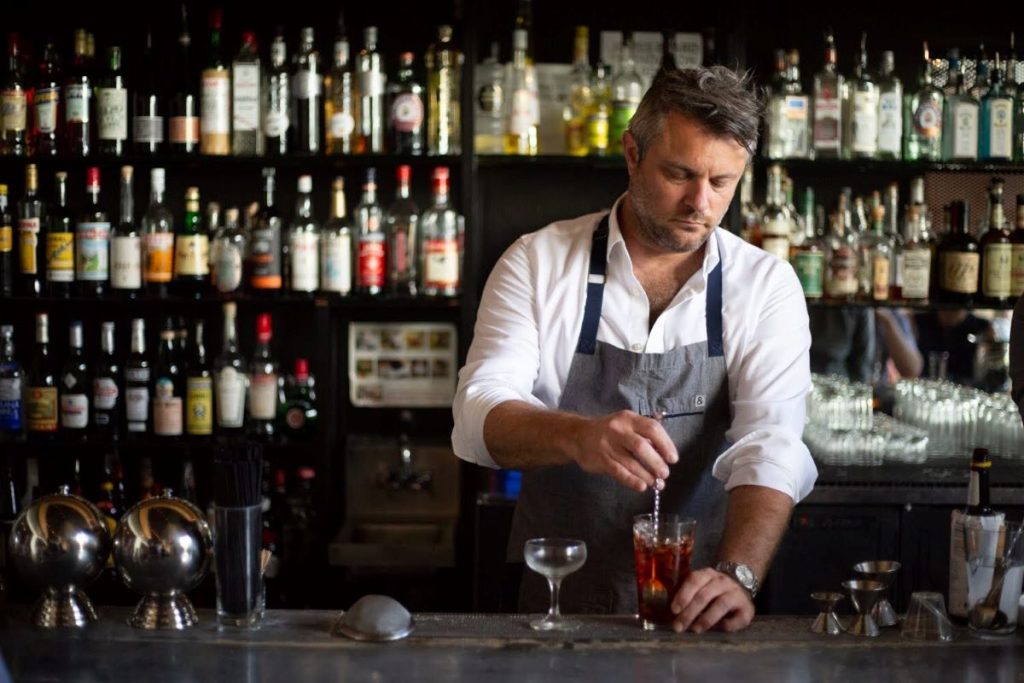
I love stirring a cocktail. Compared to the brute-force method of shaking, stirring a cocktail is elegant and refined. And while stirring is the mixing method that requires the least amount of technical skill to accomplish successfully (the drink should be well-chilled and incorporated, there isn’t much else to it), I have found that a beautifully executed stir has the power to enrapt the entire bar, as the spoon dances gracefully in the mixing glass at the hand of a master.
Since it’s nearly impossible to describe the subtle technique required to command that sort of attention, I’ll share my personal experience. During my journey of mastering this art, I dedicated downtime during my shifts to the practice of stirring. I’d begin by filling my mixing glass
three-quarters full with ice and adding water to mimic the volume of a cocktail; 3oz/90ml works perfectly. Then, with the spoon tucked between the ice and the wall of the mixing glass, I would practice turning the spoon with the flick of a wrist. It takes some time to perfect, but after practicing for a week or two I am confident you’ll be able to master this simple and beautiful skill.
5. Peeling citrus garnishes
Now that our cocktail is complete, it’s time to finish it with a flourish – and often that comes in the form of a citrus peel twist whose oils have been expressed over the surface of the drink. You can make that twist with a knife, but the current industry standard is a horizontal peeler, often called a ‘Y peeler’ because it’s shaped like the letter Y.
Now, while the Y peeler is designed for removing the soft peel from vegetables and fruits like apples, it’s not ideal for citrus. First of all, it’s engineered to remove the bare minimum of peel, which is great if you want to peel a potato while preserving the most amount of flesh, but less so if you’re trying to get a nice thick swath of orange peel for an Old Fashioned.
A couple of years ago someone at a training I was doing at a local wine bar offhandedly mentioned using the bar’s cheese slicer to peel citrus. You know these tools, they’re typically one solid piece of metal shaped like a tiny spatula, with a long handle and a slit in the blade that you use to peel hard cheeses. I nearly laughed the suggestion off but instead I tried it and found it made the most beautiful citrus. Since that day, the cheese slicer has been the only peeling tool we use in my bars. It’s faster, it’s easier, it produces a better end result, and it’s safer: since switching over not a single one of our bartenders has accidentally peeled off a fingertip – a common and very painful side effect of the classic Y peeler.
The goal here is to create an even ribbon of peel, with enough of the white pith underneath to give the peel some structure and firmness. Hold the fruit firmly in your nondominant hand and start the peeling process. Once the blade is engaged, use your nondominant hand to turn the fruit , always remembering not to move the blade, but the fruit. Being able to maintain precise control over the blade is important not just for the appearance of your peels, but also for the safety of your fingertips.
More Articles

Article
Last Orders by Mona GallosiFor the final installment of our Negroni Week Movies, let’s leave the floor to our top Argentinian bartender. Who but Mona Gallosi to end these incredible cinematic stories? The perfect femme fatale bartender in her Last Orders. In the style of a classic black-and-white film noir (but letting the Campari bottle and cocktail stand out […]

Article
The Curious Life Of The Travelling Bartender by Joe SchofieldIf you’ve read the prior article, you might recognize the protagonist of this short movie, the colorful Joe Schofield (who played the unidentified man in Millie’s short film)! In his vignette, The Curious Life of the Travelling Bartender, Joe is the main character in this typical Wes Anderson style and aesthetic. Maniacally symmetrical framings, bizarre […]

Article
For Your Eyes Only By Millie TangLet’s dive into a genre which places itself between thriller and action movie, the classic 60s spy movie with the one and only Millie Tang, acting as the main protagonist and spy bartender. For Your Eyes Only is a stylish espionage caper in which Millie is sitting outside an Italian Café reading a newspaper, but […]

Article
The Bitter Truth by Tiffanie BarriereMovies and cocktails tell extraordinary stories, which come alive when movie directors and bartenders’ creative fire is lightened up. Both are thrill seeker, searching for emotions for people to feel. Our Negroni Week movie campaign starts with the first short movie: The Bitter Truth, a modern thriller by Tiffanie Barriere. In this thrilling scene inspired […]
Article
Meet the Global Campari Red HandsRed Hand is not just one individual, Red Hand is a concept, a legend to behold. However, Red Hand is not anyone: knowledge, experience, wisdom and passion are some of the distinctive characteristics which a Red Hand needs to have. This is what drove the Global Campari Red Hands 2024 when they were asked to […]
Article
Discover the Global Campari Red Hands ProgramWhat do a bartender and a movie director have in common? The inspiration to create something unique, which can come from everything that lights up one’s creative fire. This is what happens to bartenders and movie directors. Both let themselves be inspired by the world and people around them, by what they’ve experienced, by their […]
Discover More
Article
The (new) Ice AgeThe most important (and underrated) ingredient of them all: ice had a fascinating history before entering the world of mixology. Today it’s the subject of deep and ever-evolving experimentation – we explore its possibilities
Article
Are Purpose-driven Spirits the Future, the Past or Something else Entirely?When was the last time you saw a new traditional gin get launched and got excited about it? I thought as much. As much as we love the juniper-based spirit, these days, something as perfunctory as a traditional spirit with no discernible difference will, sadly, arrive lacklustre. That’s because the world of spirits making has […]
Article
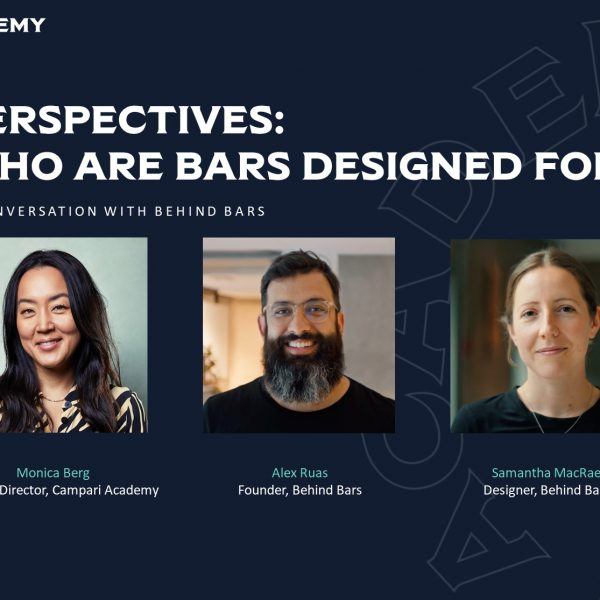
Who Are Bar Designed For? A Conversation with Behind BarsFrom Behind Bars office in Oslo, Campari Academy Creative Director Monica Berg sits down with founder Alex Ruas and designer Samantha MacRae to discuss bar design.

Article
Athens Bar ShowWith sun shining bright over Technopolis, a former gas factory now one of the city’s most vibrant cultural venues, the tenth edition of Athens Bar Show marked the end of the “bar show season”: ABS continued to increase the number of visitors (12.000 this year) and proved once again to be one of Europe’s largest […]

Article
Jim Meehan: When it comes to bar design, we all have the power to work with itBartender and esteemed author Jim Meehan shares his ideas about how design can impact a succesful bar.
Article
10 Ways Instagram Can Improve Your Bar BusinessNowadays, a solid social media presence has become a key asset to a venue’s business strategy. However, you’ll still regularly hear it played down, with people often remarking on how easy it can be (“Oh, a few posts on Instagram, how hard can it be?”). But investing time or money in a high-quality social presence […]