


DIY Fermented Soda is the Technique You’ve Been Waiting For.

These three recipes are dazzling templates for experimentation at your bar.
Warning: You’ll never go back to store-bought ginger beer.
By Danny Childs, author of the James Beard Award-winning Slow Drinks: A Field Guide to Foraging and Fermenting Seasonal Sodas, Botanical Cocktails, Homemade Wines, and More. His recipes are informed by his academic background as an ethnobotanist and grounded in hands-on practicality by his experience as a forager and bartender.
In the year since we published our book, the question I’m asked most is “where should I start?” My unequivocal answer is simple: Start a ginger bug and then begin fermenting your own sodas. The recipes I’ll share here are approachable, relatively quick, and delicious enough to be enjoyed on their own as a sparkling NA option or in a unique highball.
Over the years, I’ve made sodas out of all kinds of different ingredients – evergreen needles, coffee, rhubarb, maple sap, prickly pear, radicchio root, dandelion, hops, carrots, and many more. Across this wide range, I’ve found the most consistent key to success is having a clear vision from the start. When experimenting with a new ingredient for the first time, I start by envisioning a popular soda brand as a jumping off point for building a flavor profile and successful recipe. I call this flavor range the “soda continuum”, and below I’ll share some key recipes to master it.
The Soda Continuum
On one end of the spectrum are the acidic, bright, and zippy sodas. Think ginger beer or lemon-lime. Jump to Ginger Beer recipe.
On the opposite end are the malty, richer sodas like root beers and colas. With these, just the slightest touch of citrus is needed to make an optimal fermentation environment—too much will drown out the deep, roasted flavor we’re after. Jump to Chicory Cola recipe.
In the middle are the sodas that benefit from a medium amount of citrus, enough to compliment the main ingredient but not overpower it. For this category, we’ll feature a celery soda à la Dr. Brown’s—a staple of mid-Atlantic delis since the 1860s. Jump to Celery Tonic recipe.
Below you’ll find a little about the why and how of fermenting your own sodas, plus instructions on how to make a “ginger bug”, the essential starting point in building out your soda game.
We’re also sharing three step-by-step recipes from the book: ginger beer, celery soda, and chicory cola. These recipes are easy to make, scalable for a bar program, and once you master them, offer incredible templates for experimentation. Happy exploring!
First, a little background science on fermentation.
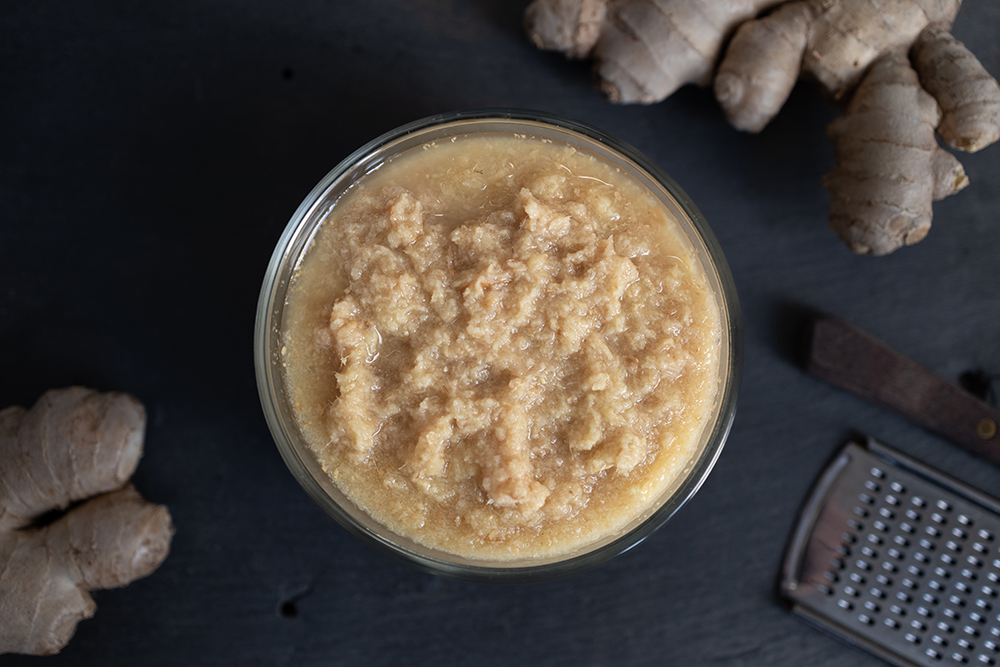
The soda fermentation process we’re using begins with a ginger bug. A ginger bug is a slurry of grated ginger, sugar, and water.
- The sugar in the slurry feeds the naturally occurring lactic acid bacteria (LAB) and yeast present on the skin of the ginger root.
- When the LAB consume the sugars, they produce lactic acid (the chemical that gives sauerkraut and kimchi their distinctive tang).
- When the yeasts consume the sugars, they produce carbon dioxide and ethanol.
- With time, these two microbial colonies begin to exist in symbiosis within the ginger bug, creating a SCOBY (literally, a symbiotic culture of bacteria and yeast). Sounds familiar? It’s the same concept as a sourdough starter or kombucha mother.
Time and Alcohol:
If you left this to ferment for a month or longer, it would result in an alcoholic final product. When the process is cut down to only a few days* though, the result is a sparkling, living beverage with less than 1% alcohol.
*1-2 days of primary fermentation in a non-airtight container and 1-2 days of secondary fermentation in a sealed bottle
How to Grow a Ginger Bug
Day 1
Ingredients:
- ½ cup of grated, organic ginger
- 1 ¼ cups of simple syrup
- 1 ½ cups of filtered water
Instructions:
Add all ingredients to a food safe container, stir to incorporate and cover with cheesecloth or tea towel secured with a rubber band, or other non-airtight lid, so that the gasses can escape, but no bugs can enter. Store at room temperature (between 65 and 70 degrees).
Days 2-4
Ingredients:
- Add additional ¼ cup grated ginger, each day
- Add additional ½ cup simple syrup, each day
Instructions:
Stir to incorporate ingredients. By day 4, you should start to see signs of microbial activity: it should bubble when you stir it and smell mildly alcoholic.
Day 5 and beyond
Ingredients:
- ¼ cup grated ginger
- ½ cup simple syrup
Instructions:
Add these on day 5. Your bug should be active by now and ready to be stored. Continue to add this same amount of ginger and simple syrup once or twice per week moving forward to keep the bug alive.
Troubleshooting
If your ginger bug is not showing signs of life after a week, the problem is most likely your ginger or water.
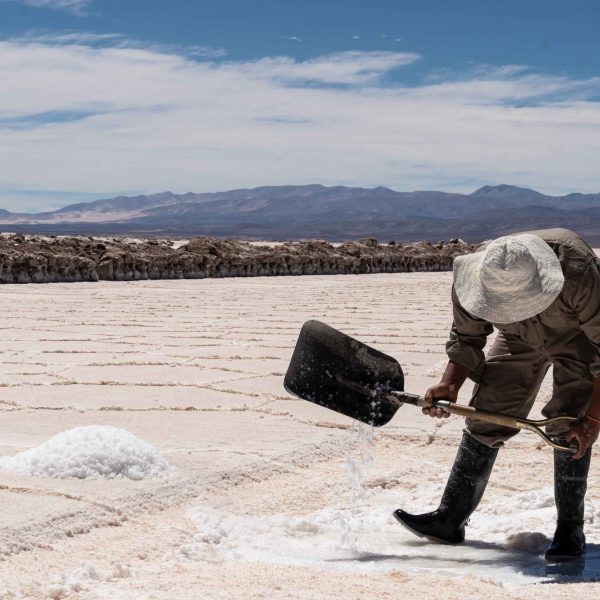
Ginger: Much of the ginger available in grocery stores has been irradiated, a process which kills the bacteria and yeasts necessary to produce a healthy bug—try to use organic ginger.
Water: Some tap water contains high amounts of chlorine, which will inhibit microbial growth. Typically, it will be removed by any standard water filter, but if you’re using organic ginger and still experiencing problems, try using distilled or bottled water.
Within a week, you should have an active ginger bug. Now it’s time to put it to use: Start off bright making this DIY Ginger Beer.
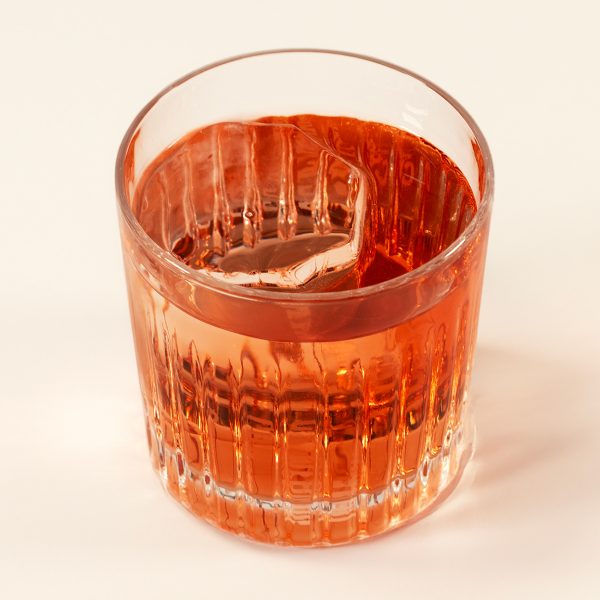
Ginger Beer
Makes approximately six 750mL bottles
Ingredients:
- 3 quarts water
- 1 quart simple syrup
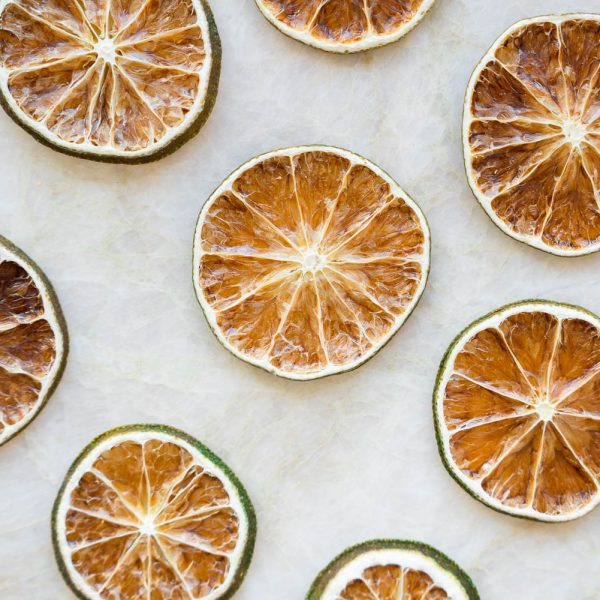
- 2½ cups freshly squeezed lemon juice
- 1¼ cup freshly grated, unpeeled ginger grated using a box grater
- ½ cup ginger bug
Instructions:
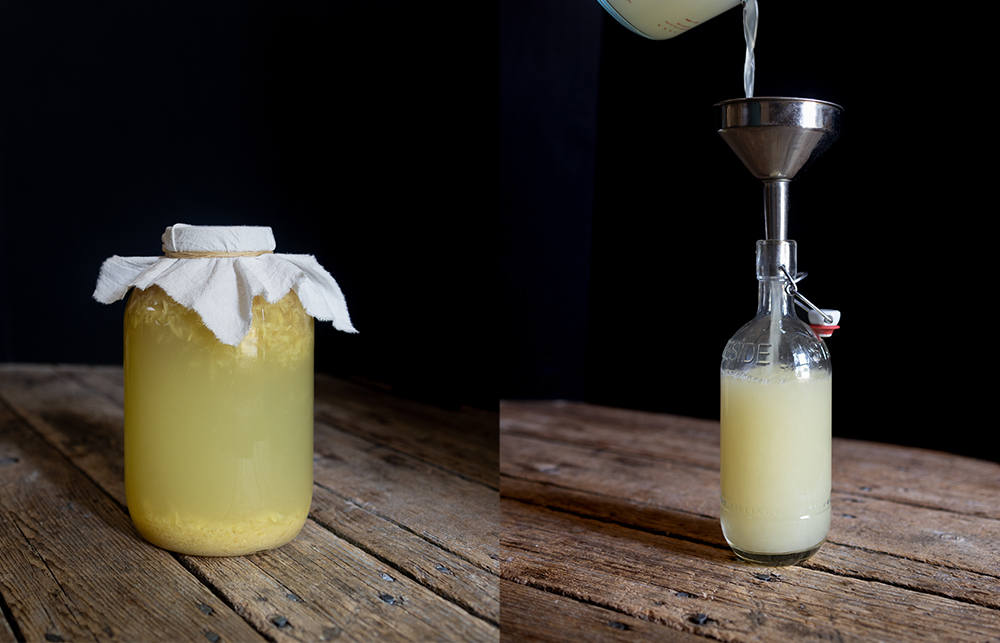
Mix all ingredients for the base and add to a thoroughly cleaned 6-quart food safe container. Cover with cheesecloth or tea towel secured with a rubber band, or other non-airtight lid, and allow to sit at room temperature for two days to ferment.
After the first 24 hours, you should begin to see signs of fermentation; the liquid will turn cloudy, the grated ginger will begin to rise and fall in the suspension, and if you put your ear close enough, you may even be able to hear bubbles faintly popping.
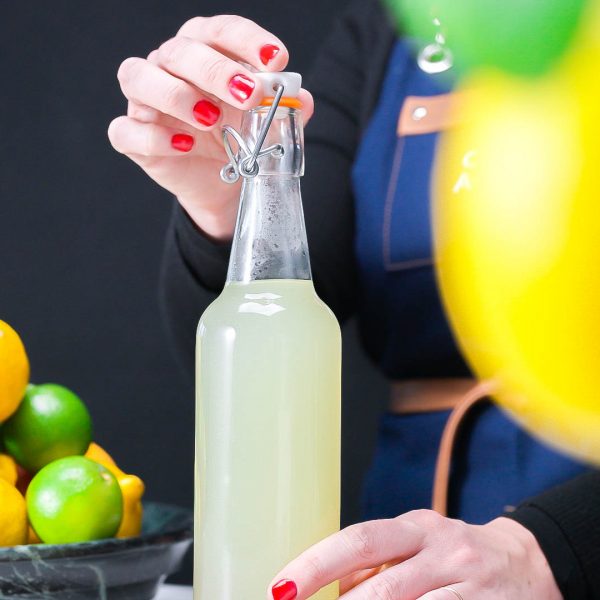
After two days have passed, it is time for the secondary fermentation. This step involves straining out the ginger solids and decanting the liquid into clean swing cap bottles. The naturally occurring CO2 produced in this step will build pressure and cause the gas to be absorbed by the liquid in the bottle, resulting in a naturally carbonated beverage. This process is known as bottle conditioning. The soda should be sufficiently bubbly in 1-2 days, but may take an additional day or two. Once sufficiently carbonated, place the bottle in the refrigerator. Will keep for one month or more.
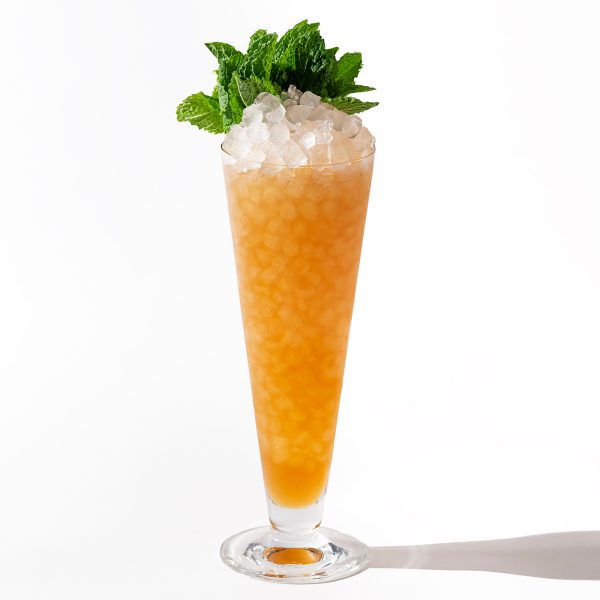
Next up is the middle of the soda continuum: less citrus-forward than ginger beer, but zippier than a cola. This style is a fantastic template for more delicate ingredient-driven beverages where you want to showcase specific flavors. Try it yourself with this Celery Tonic recipe!
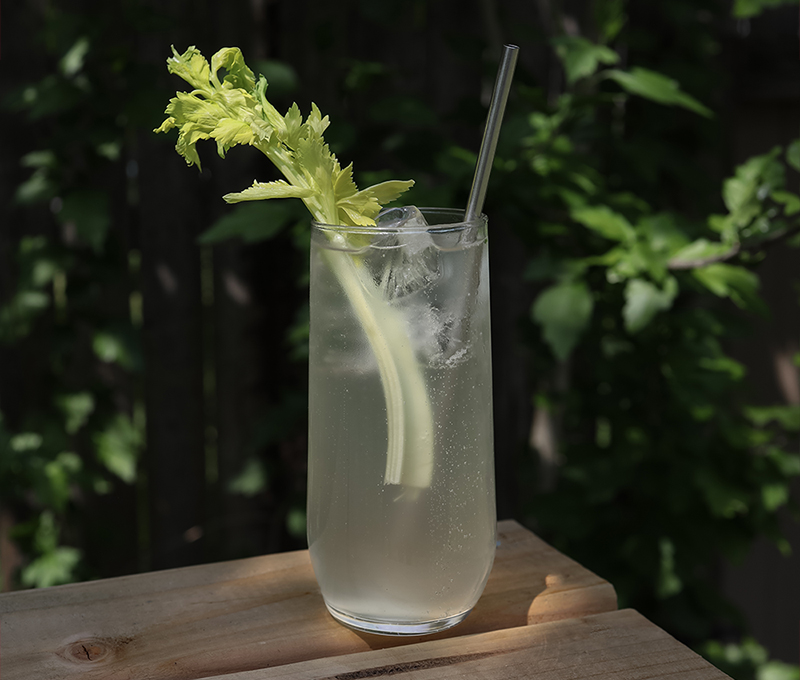
Celery Tonic
Makes approximately seven 750 mL bottles
Ingredients:
- 3 pounds stalk celery chopped in 1-inch pieces (from approximately two heads with the base removed)
- 3 quarts water
- 1 quart plus one cup simple syrup
- 1 cup lime juice
- ½ cup ginger bug
Instructions:
Working in batches, blend the chopped celery with water to extract the juice from the celery. Strain through a fine mesh strainer lined with a cheesecloth or tea towel to remove the solids, squeezing as much liquid from the solids as possible. Discard the solids.
Add celery juice, remaining water, simple syrup, lime juice, and ginger bug to a food-safe container, and cover with a tea towel or cheesecloth bound with a rubber band, or other non-airtight lid. After one day has passed, strain out the solids and decant the soda into 750 mL bottles.
Cap tightly and let sit at room temperature, checking every 12 hours to make sure that it hasn’t overcarbonated (celery tonic is usually pretty active). Once sufficiently carbonated, place the bottle in the refrigerator. Will keep for one month or more.
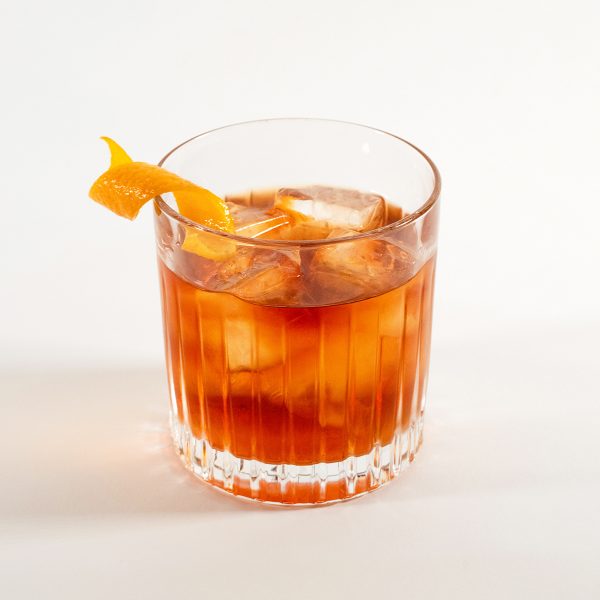
And finally, we move to the cola end of the continuum. This recipe builds off of two DIY components: cola syrup and chicory coffee, the latter of which is a robustly-flavored, caffeine-free recipe with deep ties to New Orleans.
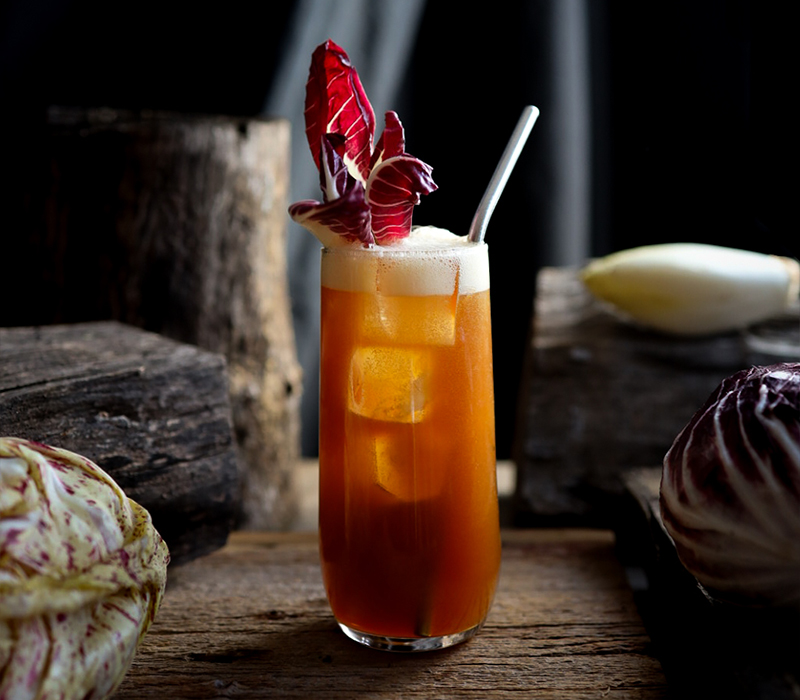
Chicory Cola
Makes approximately six 750 mL bottles of Cola
Ingredients:
- 2 quarts room temperature chicory coffee (*recipe below)
- 45 oz. water
- 4 ½ cups room temperature cola syrup (*recipe below)
- 1 oz. lemon
- 1 oz. lime
- ½ cups ginger bug
Instructions:
Mix all ingredients in a thoroughly cleaned 6-quart food safe container. Cover with cheesecloth or tea towel secured with a rubber band, or other non-airtight lid, and allow to sit at room temperature for two days to ferment.
After two days have passed, strain out the solids and decant the soda into 750 mL bottles. The soda should be sufficiently bubbly in 1-2 days, but may take an additional day or two. Once sufficiently carbonated, place the bottle in the refrigerator. Will keep for approximately two weeks.
Chicory Coffee
Makes approximately 2 quarts chicory coffee
Ingredients:
- 2 quarts plus 1 ¼ cups just-under boiling water
- 9 tablespoons ground chicory root (64g)
Instructions:
Grind chicory root in a Vitamix and pour into a 6-quart food safe container. Bring water to a boil, let chill for one minute, and pour over the ground chicory to infuse. After 10 minutes, strain through a cheesecloth to remove ground chicory root. Will keep for one week when stored in the refrigerator.
Cola Syrup
Makes approximately 4 ½ cups of syrup
Ingredients:
- 18 oz. water
- Zest of one lemon, one lime, and one orange
- 2 cinnamon sticks
- 1 ¼ teaspoons coriander seeds
- ¼ teaspoon ground nutmeg
- 1 ¾ cups demerara sugar
- 1 ⅓ cups maple syrup
- 3 oz. orange juice
- ¾ oz. lemon juice
- ¾ oz. lime juice
- ½ teaspoon vanilla extract
Instructions:
Bring water, citrus zests, cinnamon sticks, coriander, nutmeg, demerara, and maple to a boil, then strain out solids. To the strained liquid, add 3 oz. orange juice, ¾ oz. lemon, ¾ oz. lime, and ½ teaspoon vanilla extract. Will keep for approximately 1 month in the refrigerator.
For more great recipes and tips on fermentation and foraging, pick up a copy of Slow Drinks and follow Danny on IG: @slowdrinks.
Thirsty for more great recipes and techniques? Check out our expert guides on:
How To Do Draft Cocktails Right
More Articles
News
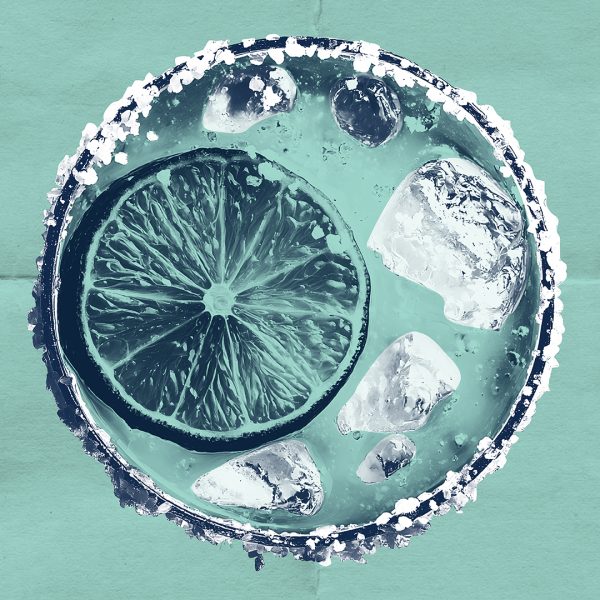
Margarita R&D Lab TourComing to your city: Cutting-edge trends and techniques to land your next Margarita on the menu ABOUT THIS TOUR: It’s just about Margarita season and we are getting ready. Join Mexican Spirits Brand Ambassador Mary Palac and Tony Flores for a master class on Margarita trends, inspirations, and provocations. In this class we will look […]

Article
Class Recording: Black Excellence Through CocktailsBartender Sam Miller leads a celebration of Black contributions to bartending, plus networking concepts and resources.
Article
Class Recording: How To Sustainably Invest In Your Bar TeamThere's no one right way to train and empower a staff...but there's a lot of wrong ways. Learn how to do it better!
Article
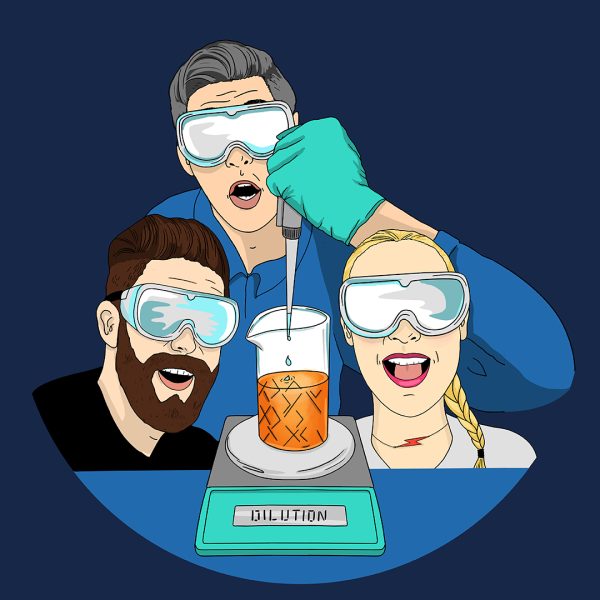
Class Recording: Reconsidering Dilution with Dave Arnold and Mike CapoferriFrom batching to ice size, understanding dilution is a key skill. Oh, and some very "cool" advanced hacks...

Article
Flavor Science with Arielle Johnson LIVE: Event PhotosPhotos from a hands-on flavor science class with author Arielle Johnson, live in NYC.
Article
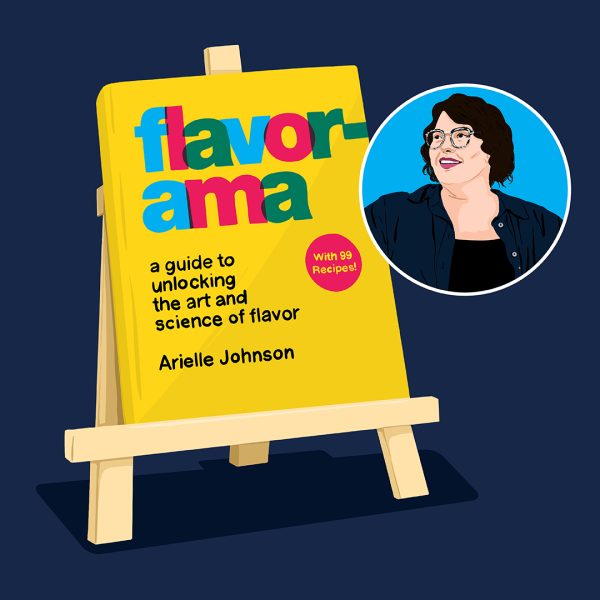
Class Recording: Flavorama with Arielle JohnsonArielle Johnson, author of Flavorama, offers a practical guide to unlocking the art and science of flavor.
Discover More
Training
Discover the Classic Taste of BittersDelve into the origins of bitters as a cocktail ingredient and the different flavor profiles available. Learn how to use them here.
Recipe
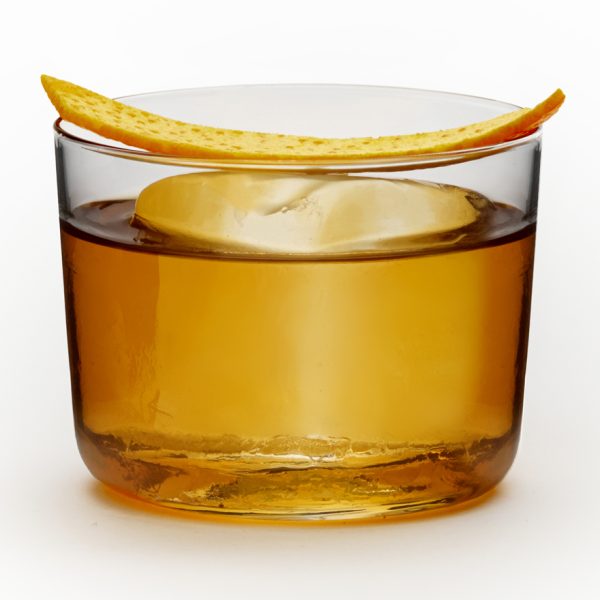
Ancho Verde GimletWhat is a gimlet? A drink with a double soul. Rich in aromas and scents, this recipe adds a third spicy and “green” element: our Ancho Reyes Verde.
Recipe
AmericanoThe Americano was first served in creator Gaspare Campari’s bar, Caffé Campari, in the 1860s. This mix of Campari, sweet vermouth, and soda was the direct predecessor to the Negroni and was so named because of its popularity among American expats.

Interview
Standing the Test of Time: Kirsten Holm and K-BarDespite being internationally renowned for its dining and gastronomy, Copenhagen might not be the first place to spring to mind when talking about the global bar scene. Nevertheless, Kirsten Holm managed to put Copenhagen, and perhaps the whole country of Denmark, on the mixology map twenty years ago: K-Bar opened in 2002, and has since […]
Article
Storytelling with Lyaness: Class RecordingRyan "Mr Lyan" Chetiyawardana & Lyaness Head Bartender Louis Macpherson teach their award-winning storytelling approach.
Article
How Aki Wang is leading Taiwan’s bartending communityTaiwan's Aki Wang is working to create a local cocktail culture with global reach.